In July we embarked on a huge project. Tuckpointing and placing brick caps on the roof at the sisters house. This job ended up looking fantastic and I’m going to outline the steps below:
Phase 1: Repairing the Bricks
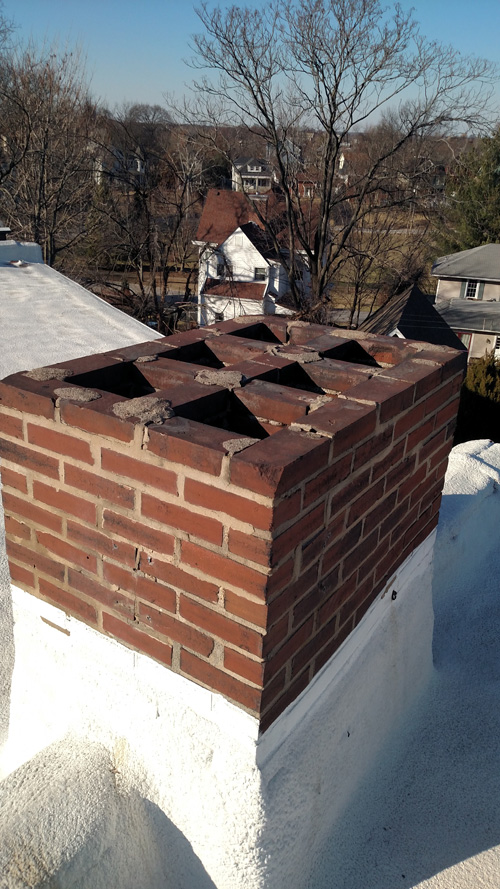
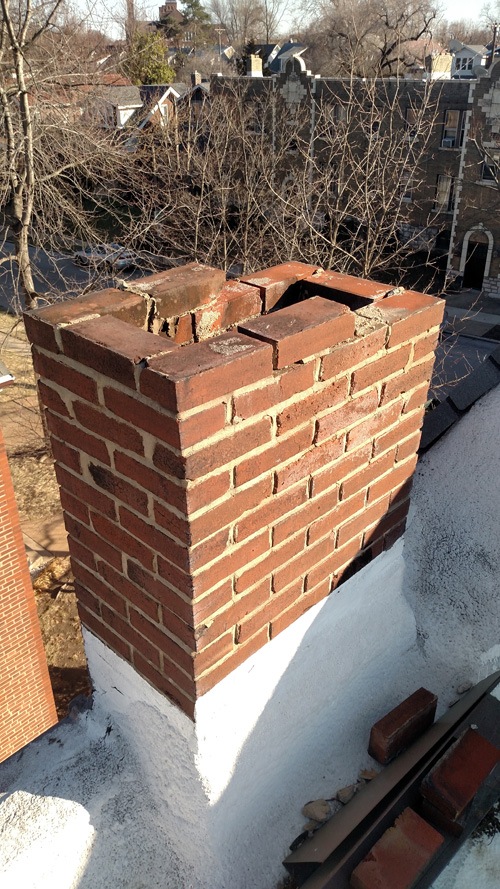
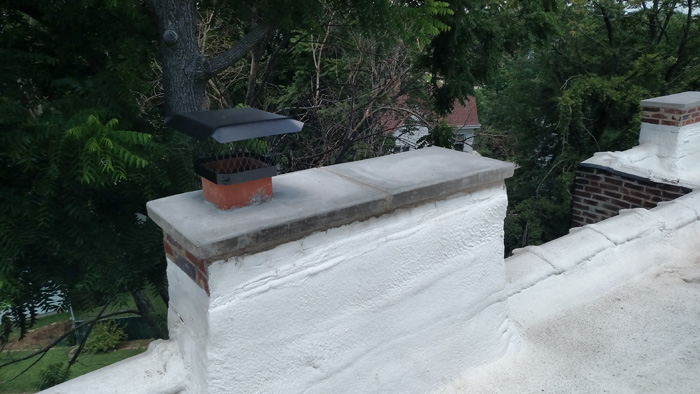
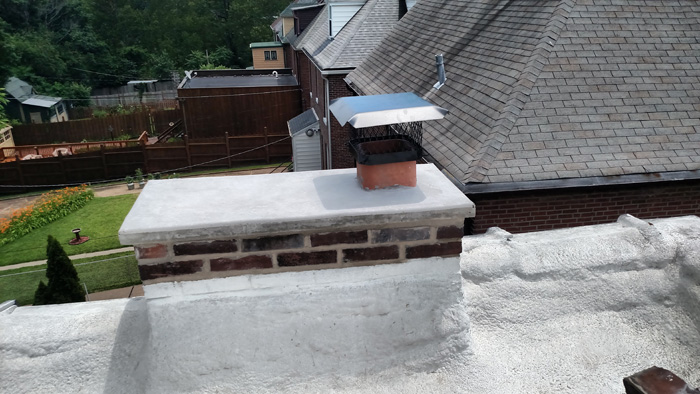
During this phase we hired a local bricklayer to come in and re-tuck point each chimney stack. In addition to the chimneys we also had him rebuild 3 knee walls in the front of the house. Pictures of this process are below:

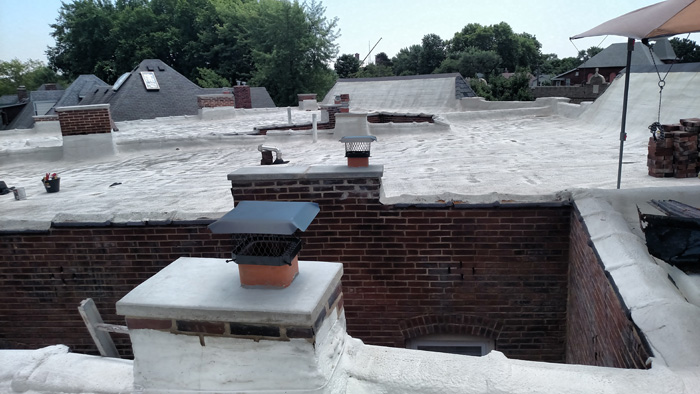

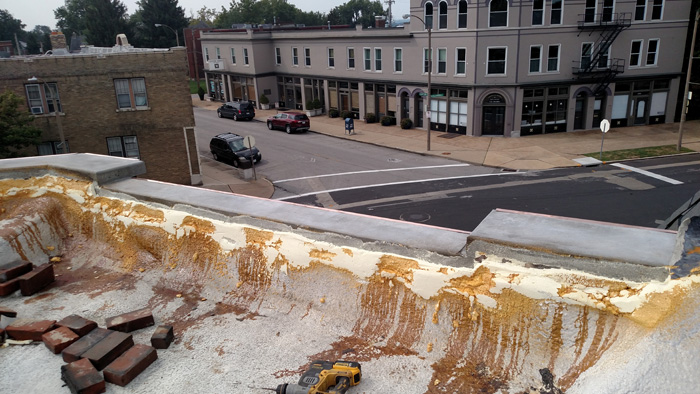
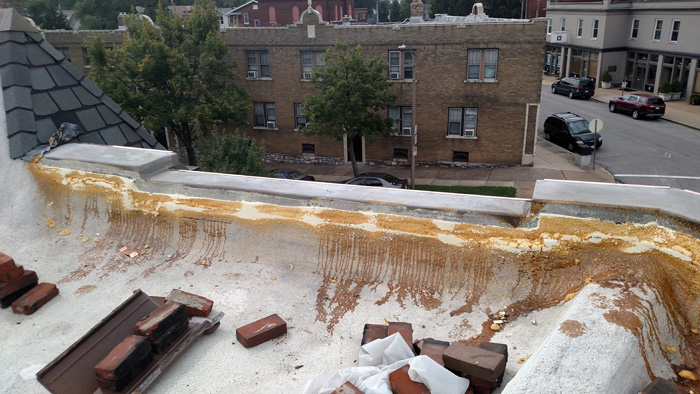
Phase Two: Repairing the Spray Foam Roof
Once all of the brick work was completed it was time to repair the spray foam roof. Initially we wanted to hire this job out because neither my dad or myself had any previous experience installing spray foam. Finding a contractor to complete the job actually turned out to be a massive headache. It finally reached a point where I ended up pouring into researching how to install spray foam and where to actually get the stuff. In the end we were able to find the exact product we needed:
Spray Foam repair kit:
We purhcase this kit: https://www.energyefficientsolutions.com/Roof-Spray-Foam.asp?item=FOAM060
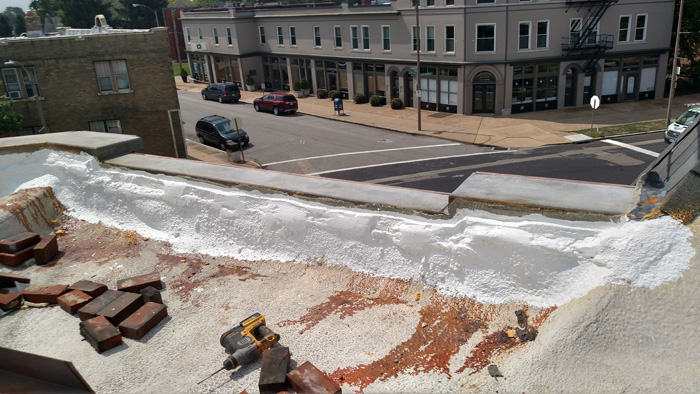
Spray foam sealer (this is applied over the foam to protect it from the sun + its an added layer of waterproofing):
We purchased this sealer: https://www.energyefficientsolutions.com/white-roof-coating-paint.asp
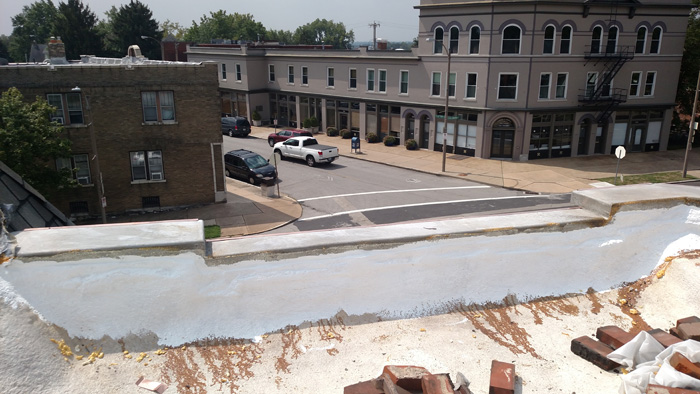
Tips for installing spray foam:
It turns out the spray foam is relatively straightforward to install. There is definitely a bit of a learning curve and during the process I learned several great tips and techniques:
- Temperature is crucial. Buy an infrared thermometer to ensure your foam tanks and the roof are the ideal temperature. I purchased this thermometer from Amazon and it worked perfectly: https://amzn.to/2PB8TyZ
- Apply the spray foam in the morning, around 9:00 a.m. If you wait longer the sun will heat up your roof to much. I was amazed that at 11:00 a.m. the roof material and bricks were already 122 degrees fahrenheit
- When operating the spray foam gun, shoot the gun in quick bursts. This works way better than constant trigger pressure. The ideal motion is right to left at 1 foot per second
then right to left again. Continue this all the way down the area you need to cover and you will get great results - This kit comes with two types of nozzles. The fan nozzle is the best one to use, it creates a wide even spray.