Please excuse the lack of polish on this post, this is mainly written as a helpful list that I can look back on in the future and hopefully remember some of the intricacies I’ve learned by trial and error from plumbing my new house. This is written from my perspective as a total novice plumber, before attempting the sisters house remodel project I had never done any meaningful plumbing in my life, so many of these items below will cover base level errors that anyone who is attempting a plumbing project without any prior knowledge will run into, hopefully someone out there finds some of these tips helpful as well 🙂
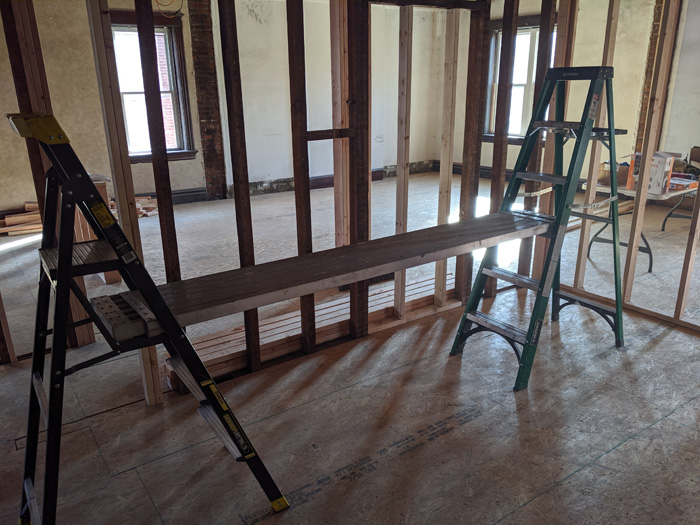
- Whenever possible create a scaffolding between two ladders, it’s much easier to work on than a traditional ladder.
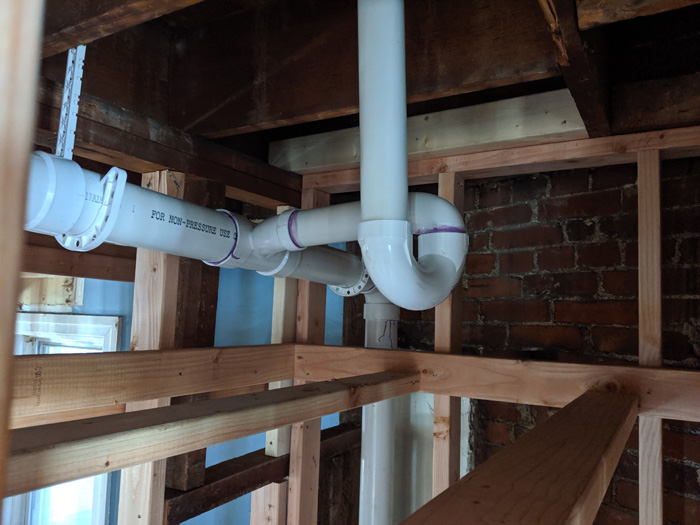
- Assembling pieces: Create the assembly of pieces you’re working on and dry fit the entire thing together. IE if you are creating a shower trap and drain connection to a main line, create the vertical piece, the trap, and the connection to the main line before gluing any joints together.
- Gluing Tips:
- Use a small mallet to get the dry fit pieces very tight
- Look at what you’re gluing and determine the part closets to the drain. So for example on a p-trap glue the last fitting that ties into the vertical up to the actual drain, glue that piece last as it is the most critical piece, and it can rotate.
- Glue in 1 direction, IE if you are connecting a shower to main line glue from the main line towards the shower fixture, don’t glue one piece from the main line then one piece by the shower drain, stay moving in 1 direction or you will end up in a bind.
- Try to glue as many of the pieces as possible on the ground, its way easier to push the pieces together and form a great connection on the ground than above your head.
- After gluing any piece, reassemble all parts your working on and dry fit them again. Don’t glue multiple joints on the ground without re dry fitting the whole assembly. The process will start to feel super repetitive, but as soon as you glue multiple joints without re-dry fitting everything and putting it back in place you will end up with a fitting rotated improperly or at the very least you will end up with a fit that is far worse than if you re-assemble each time before gluing the next piece.
- Use a marker to mark the desired location on both pieces you are gluing. Don’t mark multiple pieces only mark the one you are currently gluing as the position will likely change somewhat as you progress.
- Always buy the longer 5 inch metal stud guards, they offer better protection from rouge drywall screws.

- Rules on 90’s and Bends:
- Use long sweeping elbows when the flow of water is going to slow down, IE if you are transitioning to a long horizontal run.
- Use short sweeping elbows when you are transitioning to a vertical pipe.
- Use long sweeping elbows when you are catching water from a vertical drop and transitioning to a long horizontal run.
- Rules on Vents:
- Try your best to create a dry vent for each fixture
- When you’re connecting in vents in the attic convert the pipe to 3 or 4 inch as quickly as you can and then join all your 2 inch vent connections into that, don’t just multiple 2 inch connections together you will create a choke point and overload your vents.
- Use an air trap vent on island sinks.