Categories
Fixing Stuff Samuel Sisters House

Wiring Up Outlets On Multiple Circuits

This post will detail wiring up outlets in the following situations:

  • 12 – 3 wire connected to two circuits in the panel running to a single outlet box with 1 leg continuing on to power GFI switches and 1 leg connected to the outlet receptacle
  • 12 – 3 wire to connected to two circuits in the panel with both legs running to a single receptacle

This post contains information I learned while wiring our house, I am not a journeymen electrician so this post should cover many of the pitfalls a novice attempting a wiring project like this will encounter. Let’s get going!
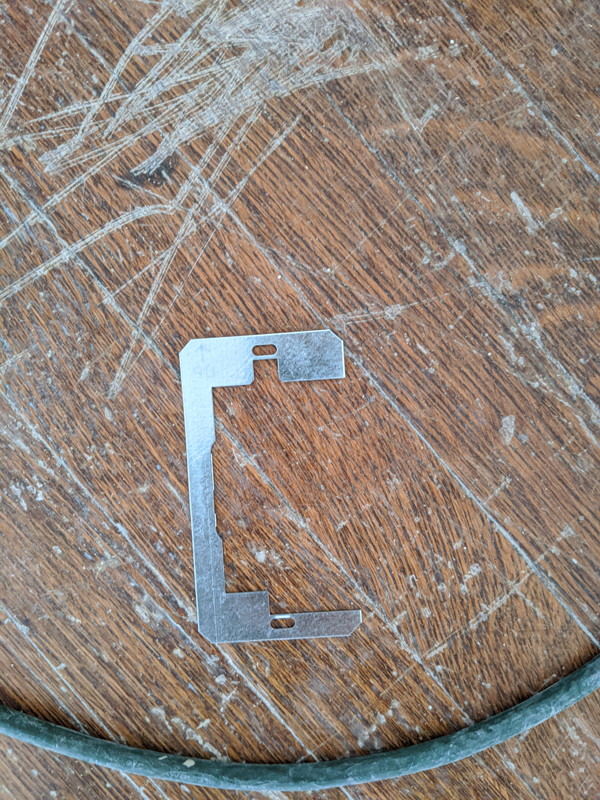
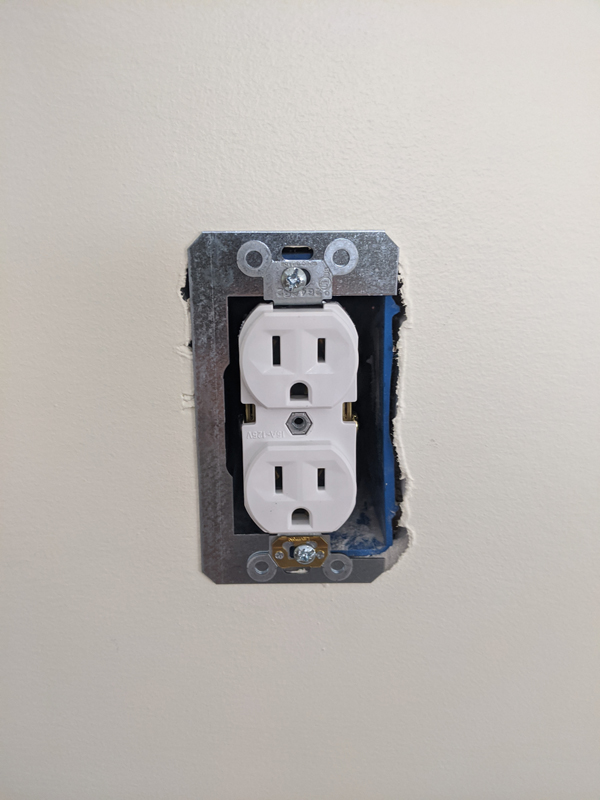
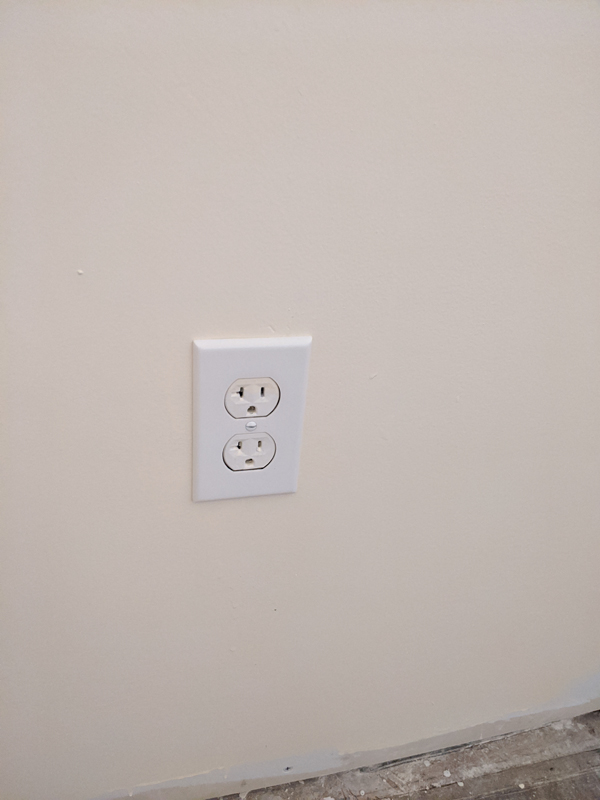
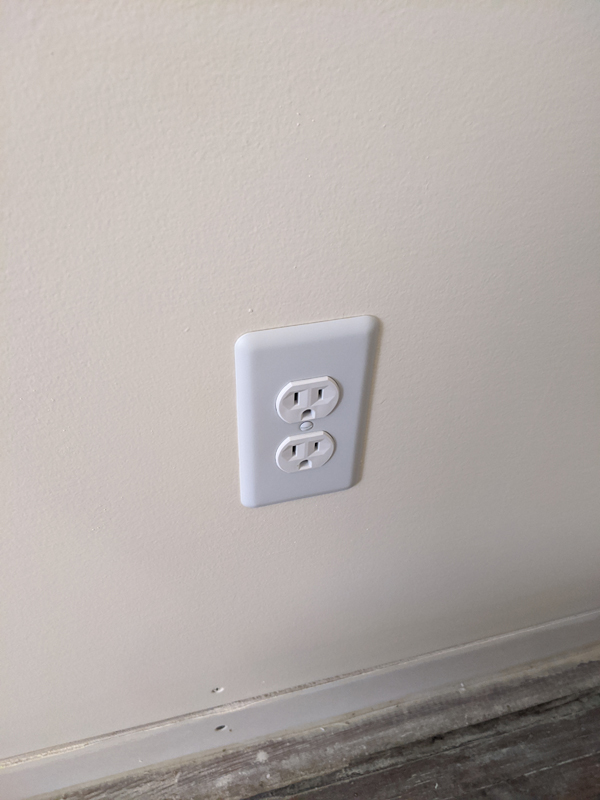
Special Note:

It is a super helpful to install these spacer plates when you install an outlet, they allow for the outlet to stand proud and poke out of the cover plate which looks so much nicer!

Raco 1 gang flush fit mounting plate
Installing Raco 1 gang flush fit mounting plate
Outlet Before Flush Fit Plate
Outlet After Flush Fit plate

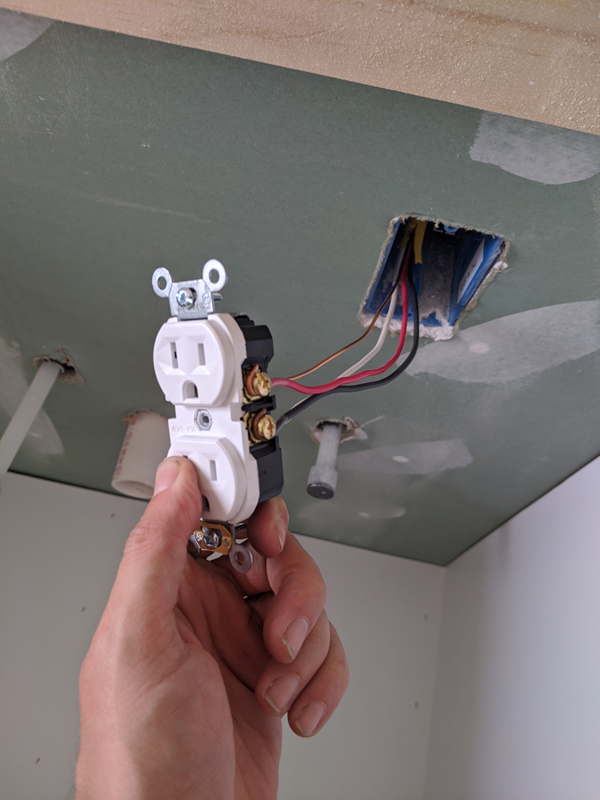
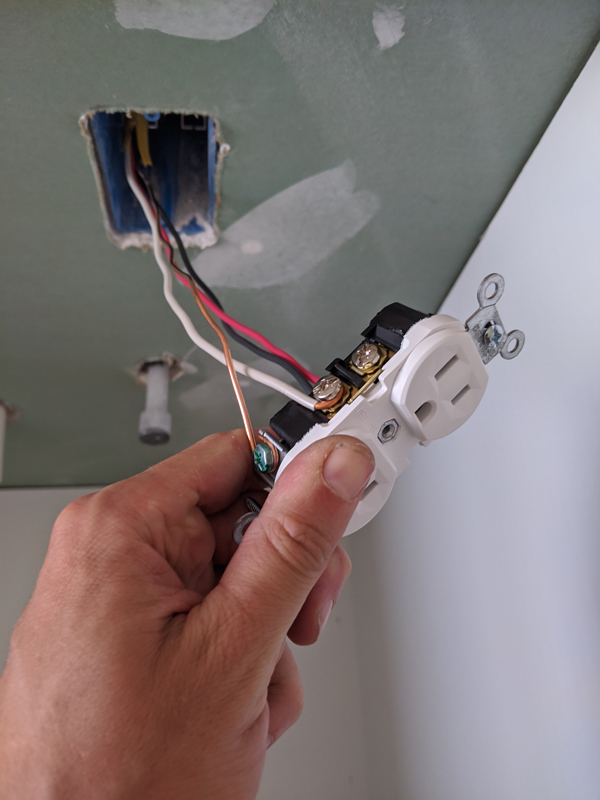
12 – 3 to multiple outlets. This is used where you have a home run going into 1 box and you want to keep that box on a different circuit than the rest of the outlets in the vicinity. In our situation this was used to run a dedicated circuit for the fridge, with a separate circuit for 2 GFI outlets above our kitchen counter. Step by step pictures are below:

Trimming the wires to length.  With wires all the exact same lengths its easier to put wire nuts on
Trimming the wires to length. With wires all the exact same lengths its easier to put wire nuts on
Separating The Wires
Separating The wires. The red and black on the right are both power coming from the panel box. The black on the left is going to the two GFI boxes downstream of this outlet box
Connecting the Ground wires. We take all of the ground wires along with a 6 inch pigtail wire and wire nut them together.
Connected Ground Wires
Connect the Neutrals together with a 6 inch pigtail just like the grounds.
Connect The Red Power wire from the 12 – 3 wire that runs from the panel to the lower right nut of the outlet. Connect the pigtail ground wire to the green ground screw on the outlet.
Connect the black power from the 12-3 wire to the black wire of the 12-2 outlets which will go on to power the GFI outlets on a separate circuit downstream. Connect the neutral pigtail to the left nut on the outlet and you are all set. Push the wires up and then back into the box and screw the outlet to the box

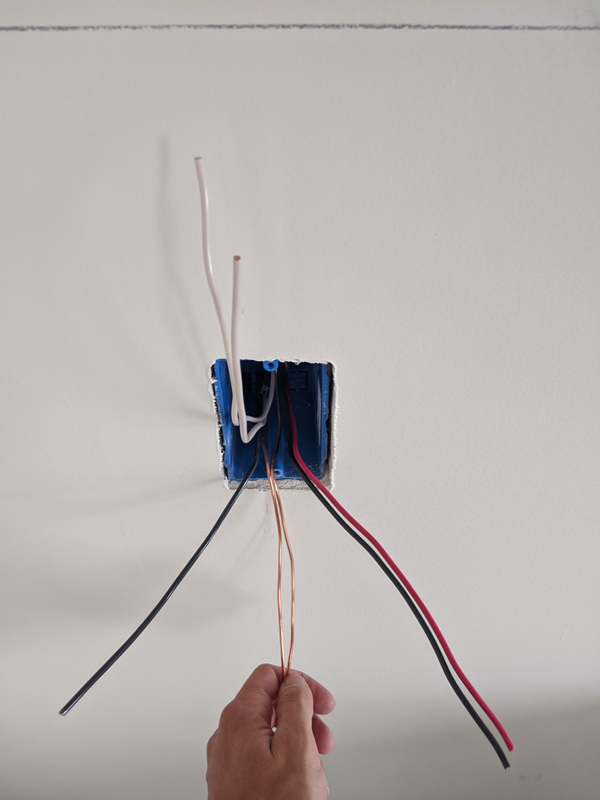
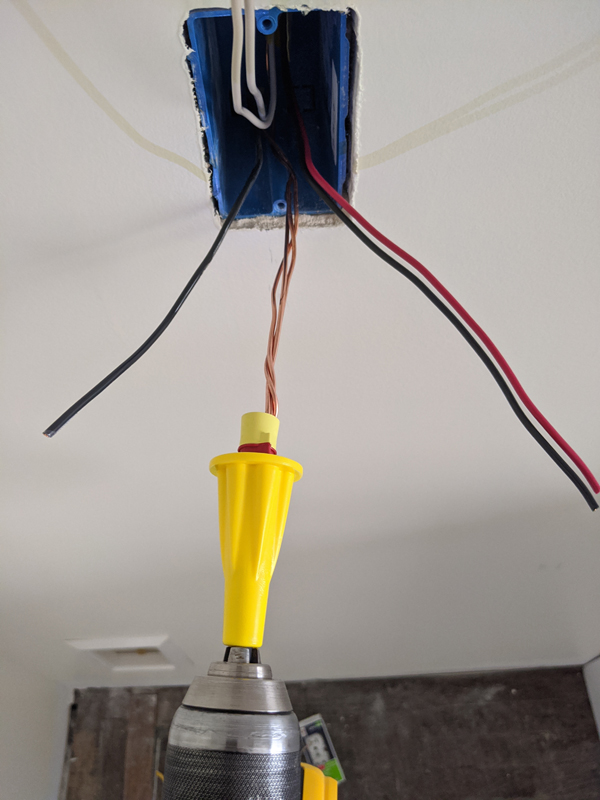
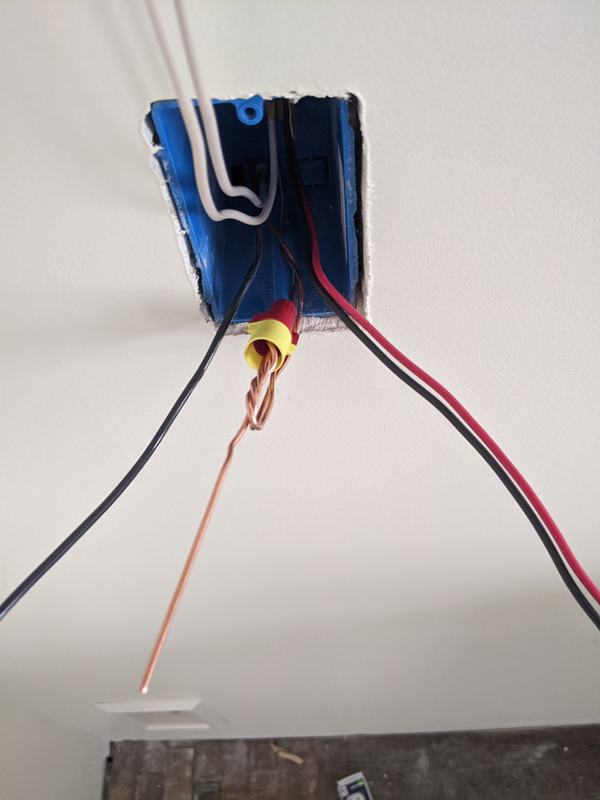
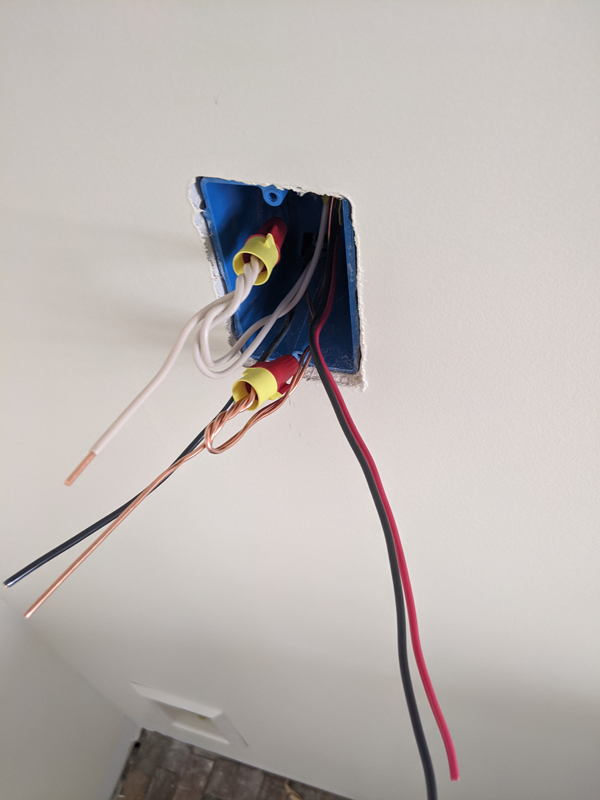
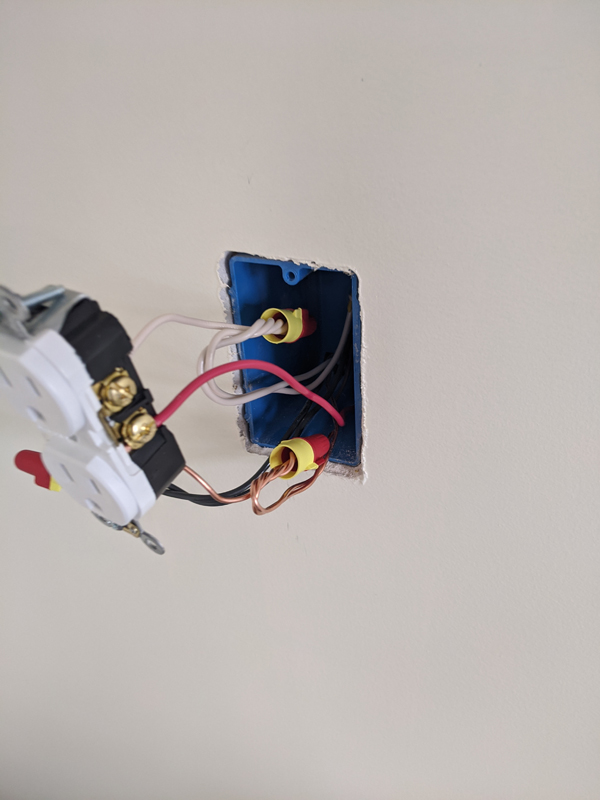
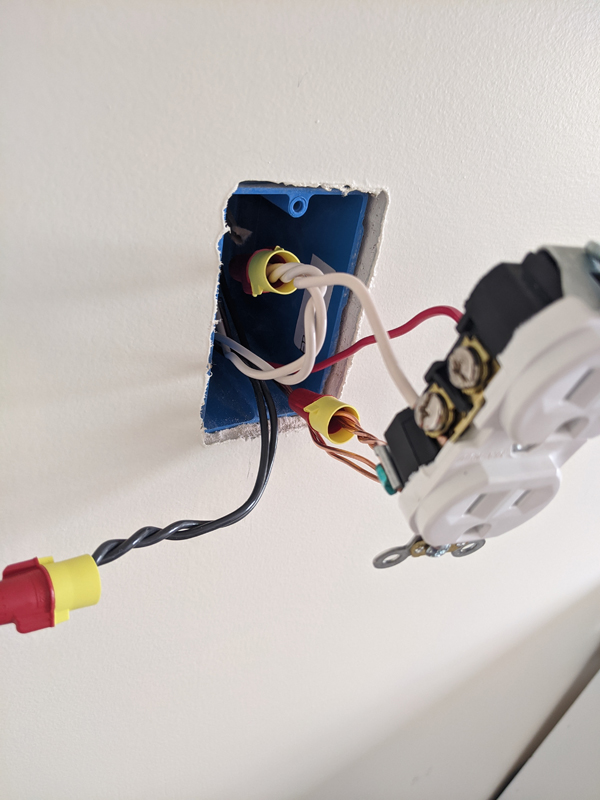
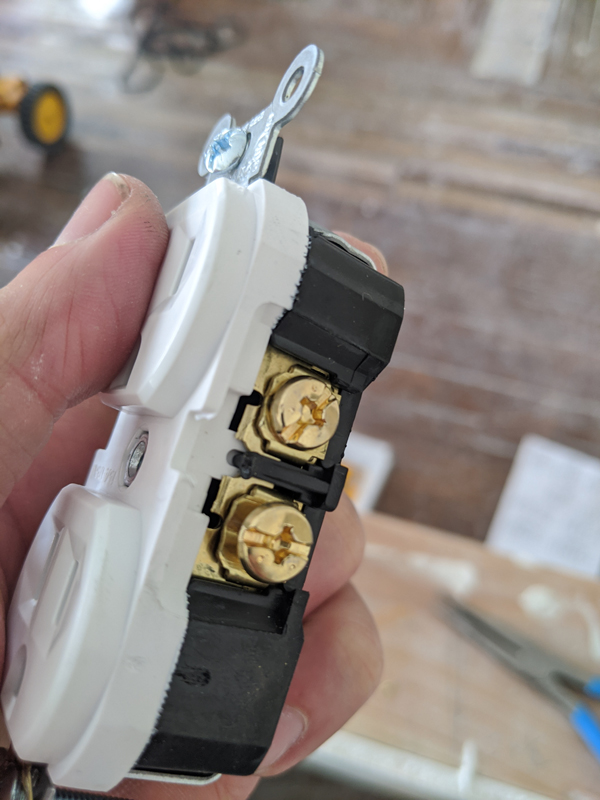
12 – 3 to a single outlet. This is used where you want the top and bottom of a single outlet to be on separate circuits. In our situation this was used for a garbage disposal and a washing machine. Each appliance draws more than 10 amps so having them on a single 20 amp breaker would cause an issue if both appliances were being operated at the same time. Step by step pictures are below:

Break the tab that connects the two nuts on the side of the outlet. Normally these are connected and allows for the power to only be attached to one of the screws and have both outlets work. In this situation however we want 2 separate circuits so we rip off the connecting tab
Connect the black power from the 12-3 wire that runs from the panel to the lower right nut. Connect the red power from the 12-3 wire to the top wire nut.
Connect the neutral and ground wires to their screws then push the wires up and fold back into the box and screw on the outlet.