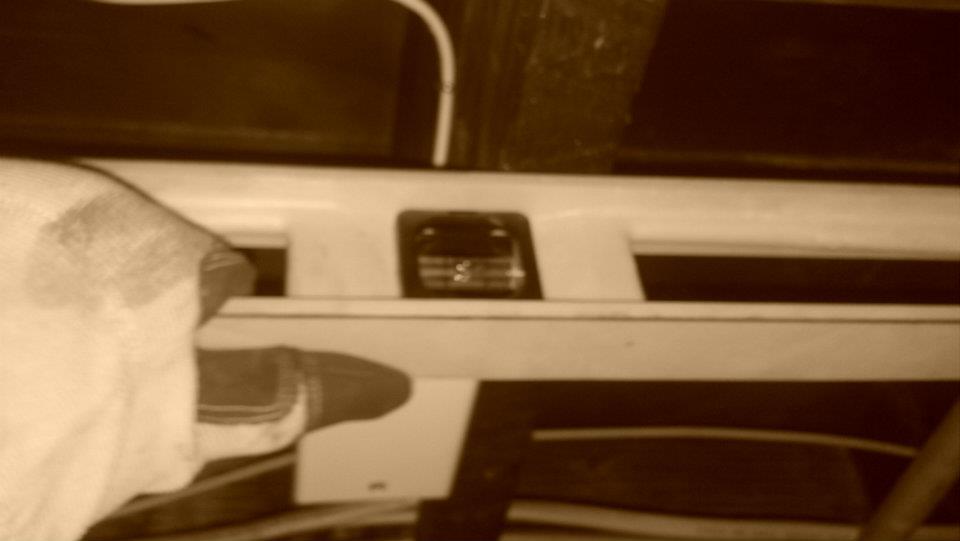
A while back I decided that I wanted to tackle leveling the floor in my home, or at the very least level the dining room floor so our games of Foosball would have a more even playing surface. At the same time as leveling the floor I also really wanted to install joist hangers to add some rigidity as well as help stop the slow rotation the floorboards were making over time. You see back in the 1930’s when the house was built they did not realized that they needed to secure the boards to keep them from twisting. In all fairness they did realize they needed to do this, but all the builders did was put 2 small trusses in the middle of each board, which was helpful but still allowed the ends of the board to rotate freely… which over the past 80 years they have done and in the process have become significantly un-level…. To get a feel for the gaps that we were trying to correct see the image below:
Now I wanted to touch on a couple very helpful tips and equipment to use:
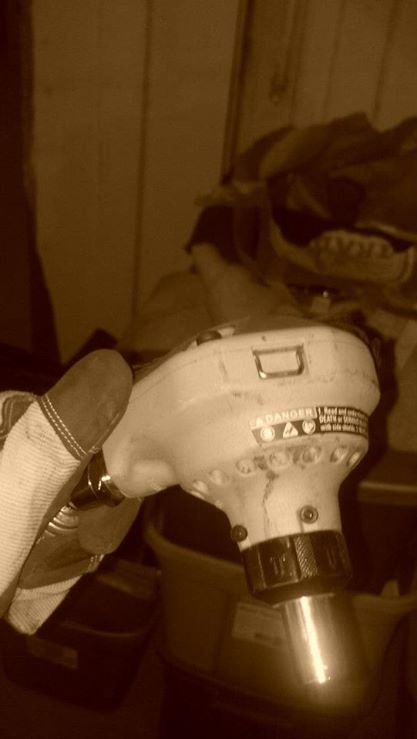
1.) You can hammer the nails in for the joist hangers, but each hanger requires up to 8 nails… and your have to swing the hammer in a super small space… so in lew of that I opted for a palm nail hammer.
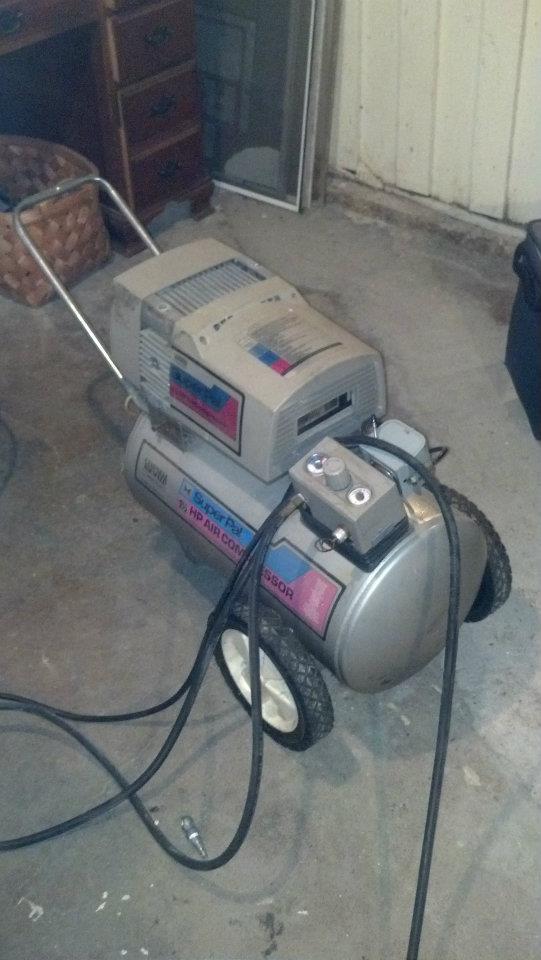
2.) To operate the nail hammer you need an air compressor, nothing fancy something like the one shown below will do the trick:
3.) To check your work you will want at least a 4 foot level & for jacking purposes I borrowed an engine/transmission jack from my Dad which worked perfect.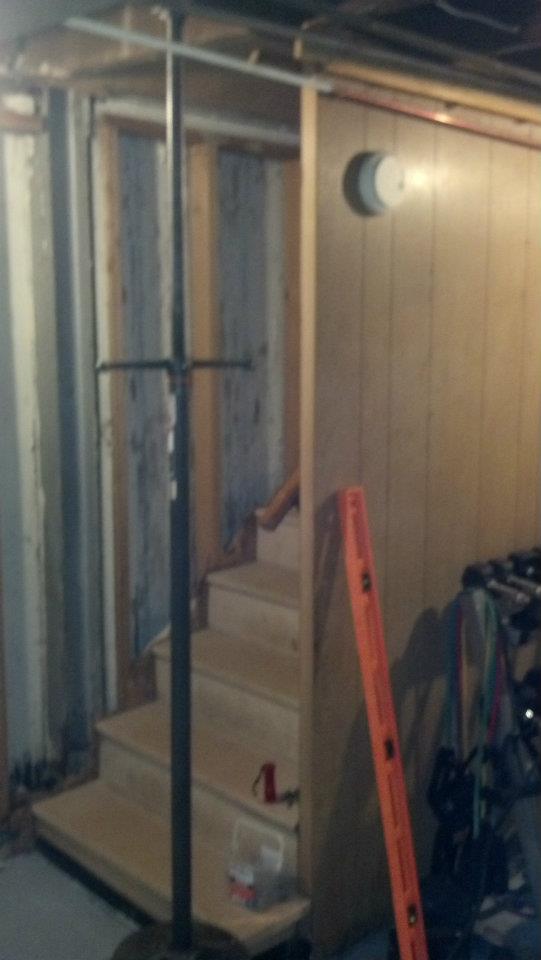
Now onto some helpful tips:
1.) Get a large piece of wood (2X12 is ideal) and place it under the jack to spread the force across a wider area. This will mitigate the risk of cracking the basement floor
2.) Don’t be afraid of the sound of cracking wood, its going to pop and crack a little. But what you do want to do is jack slowly. No more than 1-2 turns per minute. Remember the house has taken a long time to sink, we don’t need to rush jacking it back up.
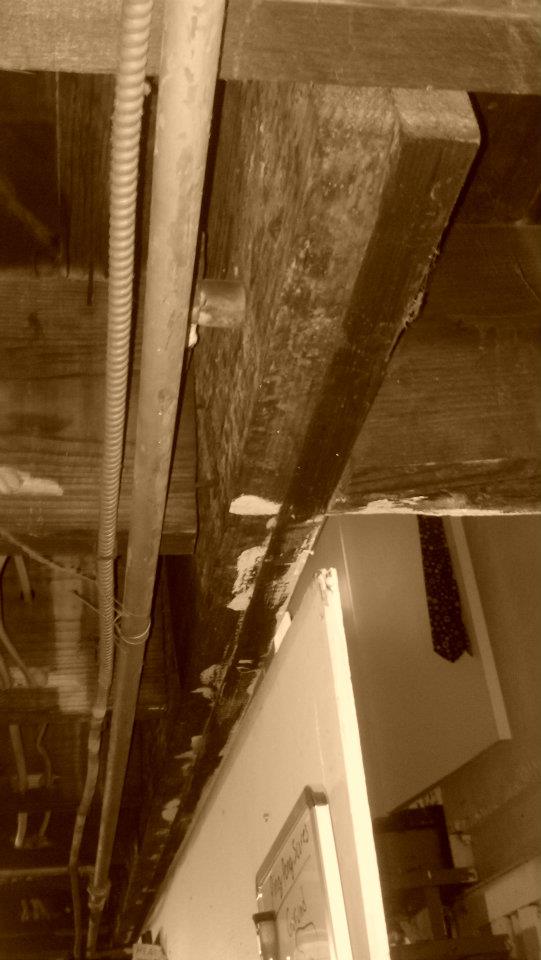
3.) Once you get each board leveled, go ahead and put your joist hanger in place before moving on. This will help keep the boards from settling back down.
4.) Take time between ever one or 2 boards to walk up to the level above where you are jacking to check the walls for signs of cracking/shifting. You don’t want to end up cracking old plaster walls and making more work for yourself.
That pretty well covers how to level the old floors in your house. Hopefully you find these ideas/tips helpful and if you decide to tackle a project like this on your own feel free to drop us a comment below or leave a screenshot of your newly level floor: