Categories
Fixing Stuff Laravel Samuel

Setting Up an Old Laravel Project

Steps to setting up an old Laravel project:

First error screen:

Warning: require(/path/public/../vendor/autoload.php): failed to open stream: No such file or directory in /path/public/index.php on line 24

Fatal error: require(): Failed opening required '/path/public/../vendor/autoload.php' (include_path='.:/usr/local/Cellar/php@7.4/7.4.19/share/php@7.4/pear') in /path/public/index.php on line 24

Fix:

run: composer install

Second Error Screen:
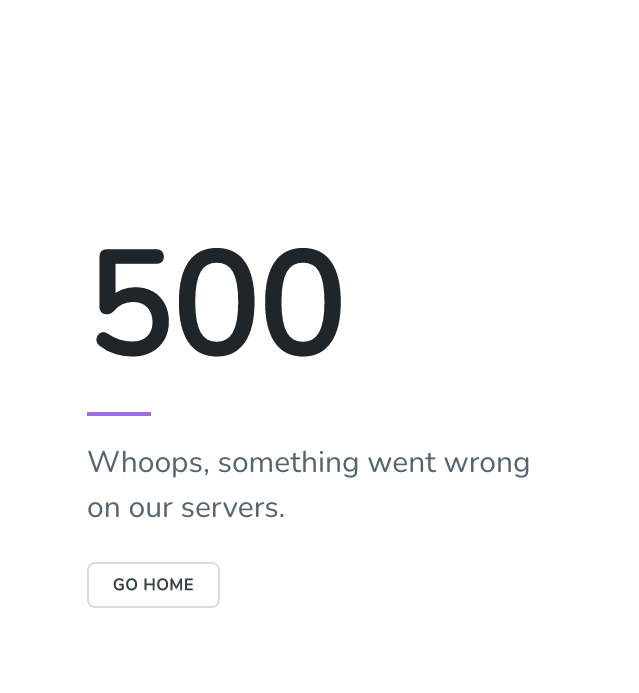
Fix:

Download the .env file from the staging site and change it to work with the local DB

Third Error:

ErrorException (E_ERROR)
The Mix manifest does not exist. (View: /path/resources/views/layouts/app.blade.php)
(View: /path/resources/views/layouts/app.blade.php)

Fix:

To fix this we will want to run “npm install followed by npm run dev” however when we run “npm install” we get the error message incorrect or missing password. To fix this we must first do:

download the .npmrc file from staging

rm -rf node_modules
rm package-lock.json
rm yarn.lock
npm cache clear --force
npm install
composer install
npm run dev
now we can run
npm insall 
npm install --save-dev webpack
npm run dev
   type yes to install CLI for webpack

Categories
Fixing Stuff Laravel Samuel

Fixing mix-manifest Error

If you are working in WordPress and see the error message:

Warning: file_get_contents(/file-path/build/mix-manifest.json): failed to open stream: No such file or directory

You can fix this error message with the steps below:

From the root of your project open up the command line and type:

npm install

npm run dev

This will create the build file and the mix-manifest file, and your error should go away.

If you are working in Laravel and see the error message:

The mix manifest does not exist. View:/var/www/html/site-name/resources/views/layouts/app.blad.php

You can fix this with the exact same steps that are listed above 🙂

Categories
Fixing Stuff Samuel

Fixing Layout In WordPress Simple Lightbox Plugin

The WordPress plugin “Simple Lightbox” is a great plugin that we use from time to time on website to allow for a nice Lightbox effect on image galleries. We ran into an issue today where the lightbox was displaying very far down the page, the fix for this is documented below:

Open up the file:

wp-content->plugins->simple-lightbox->themes->default->sass-> style.css

**Note** this file writes to:
 wp-content->plugins->simple-lightbox->themes->default->css-> style.css

So if you don't have gulp watch installed/running then you will want to edit this file directly as this is the file that is used for actual page styling.

With the correct file open you will want to make the following change:

.slb_viewer_layout {
top: 20px !important;
}

Categories
Fixing Stuff Samuel

Fixing Joomla PHP Temporary Folder Is Not Set Error

Today we had a client’s Joomla website that needed to be upgraded. The site was running a very old version of Joomla v-3.6.4. The client needed it upgraded to at least v.3.6.5. When we started to do this we ran into the error message:

The php temporary folder is not set

To start the update we clicked on the “update now” button in the Joomla admin screen. We went through the normal update process however we were hit with the error message:

the archive file is corrupt, truncated or achieve parts are missing joomla update

So in order to get around this we went to the Joomla 3 update package history list which can be found here: https://downloads.joomla.org/us/cms/joomla3

From that page we selected our 3.6.5 package, downloaded it and then we went to Global Configuation -> Server -> Path to Temp Folder. In that box we put the full path to the temp folder on the server. We found the full path by logging into the cpanel account and navigating to files manager, and then drilling all the way down to the tmp folder. In our case the path to the temp folder was:

/home/username/public_html/site-folder-name/tmp

*You will want to replace username and site-folder-name above with your sites username and main folder name. That will take care of the error message about the tmp folder not being set.

Once you have your tmp folder set, now go to the normal update screen, click the upload and update tab & then select your the update zip file you downloaded in the earlier step above and your off to the races.

Categories
Fixing Stuff Laravel Samuel

Laravel Comapact PHP 7.3 Temporary Fix

With PHP 7.3 being automatically pushed out to a lot of servers recently we noticed a bug that came up on severeal older Laravel sites. The bug is:

compact(): Undefined variable: operator 

public function addWhereExistsQuery(self $query, $boolean = 'and', $not = false)
    {
        $type = $not ? 'NotExists' : 'Exists';
 
        $this->wheres[] = compact('type', 'operator', 'query', 'boolean');
 
        $this->addBinding($query->getBindings(), 'where');
 
        return $this;
    }

A Fix for this bug can be found on this stack overflow article: https://stackoverflow.com/questions/56726263/compact-undefined-variable-operator

The specific fix is:

$this->wheres[] = compact('type', 'operator', 'query', 'boolean');

you just remove the 'operator' parameter

Please note this is just a temporary fix to remove the error page. The long term fix for this is that the version of Laravel will need to be updated, and then composer update needs to be run to pull in the latest packages that will work with the new version of Laravel, and they will handle the new behavior of the compact method. The old version allowed for empty variables to be passed to the compact method, but in PHP 7.3 if an empty variable is passed to the compact method it presents you with that nice error message 🙂

Categories
Fixing Stuff Samuel Sisters House

Wiring Up Outlets On Multiple Circuits

This post will detail wiring up outlets in the following situations:

  • 12 – 3 wire connected to two circuits in the panel running to a single outlet box with 1 leg continuing on to power GFI switches and 1 leg connected to the outlet receptacle
  • 12 – 3 wire to connected to two circuits in the panel with both legs running to a single receptacle

This post contains information I learned while wiring our house, I am not a journeymen electrician so this post should cover many of the pitfalls a novice attempting a wiring project like this will encounter. Let’s get going!

Special Note:

It is a super helpful to install these spacer plates when you install an outlet, they allow for the outlet to stand proud and poke out of the cover plate which looks so much nicer!

Raco 1 gang flush fit mounting plate
Installing Raco 1 gang flush fit mounting plate
Outlet Before Flush Fit Plate
Outlet After Flush Fit plate

12 – 3 to multiple outlets. This is used where you have a home run going into 1 box and you want to keep that box on a different circuit than the rest of the outlets in the vicinity. In our situation this was used to run a dedicated circuit for the fridge, with a separate circuit for 2 GFI outlets above our kitchen counter. Step by step pictures are below:

Trimming the wires to length.  With wires all the exact same lengths its easier to put wire nuts on
Trimming the wires to length. With wires all the exact same lengths its easier to put wire nuts on
Separating The Wires
Separating The wires. The red and black on the right are both power coming from the panel box. The black on the left is going to the two GFI boxes downstream of this outlet box
Connecting the Ground wires. We take all of the ground wires along with a 6 inch pigtail wire and wire nut them together.
Connected Ground Wires
Connect the Neutrals together with a 6 inch pigtail just like the grounds.
Connect The Red Power wire from the 12 – 3 wire that runs from the panel to the lower right nut of the outlet. Connect the pigtail ground wire to the green ground screw on the outlet.
Connect the black power from the 12-3 wire to the black wire of the 12-2 outlets which will go on to power the GFI outlets on a separate circuit downstream. Connect the neutral pigtail to the left nut on the outlet and you are all set. Push the wires up and then back into the box and screw the outlet to the box

12 – 3 to a single outlet. This is used where you want the top and bottom of a single outlet to be on separate circuits. In our situation this was used for a garbage disposal and a washing machine. Each appliance draws more than 10 amps so having them on a single 20 amp breaker would cause an issue if both appliances were being operated at the same time. Step by step pictures are below:

Break the tab that connects the two nuts on the side of the outlet. Normally these are connected and allows for the power to only be attached to one of the screws and have both outlets work. In this situation however we want 2 separate circuits so we rip off the connecting tab
Connect the black power from the 12-3 wire that runs from the panel to the lower right nut. Connect the red power from the 12-3 wire to the top wire nut.
Connect the neutral and ground wires to their screws then push the wires up and fold back into the box and screw on the outlet.